I'm addicted of making ice cream.
Really.
I spent three quarter of a quart of whipped cream for making ice cream only. I don't have the ice cream maker, but I'm patient enough to do it with the freeze and beat method. It all worth with the outcome. You can never fail making ice cream.
Ok, that's a lie. My first ice cream was not a big success. In fact, it wasn't success at all.
And these one particular flavor, has been invading my mind ever since I tried the New Zealand Natural's cookies and cream. The ice cream simply vanilla flavor and Oreo cookies, but I never quite understand with the stupidly expensive price. It was Rp 30.000 per scoop! And I never came back... with the taste still linger in back of my tongue.
I don't use too much heavy cream in my recipe, but looks like it's not affecting the richness of the taste. Maybe it's the cream of the Oreo?
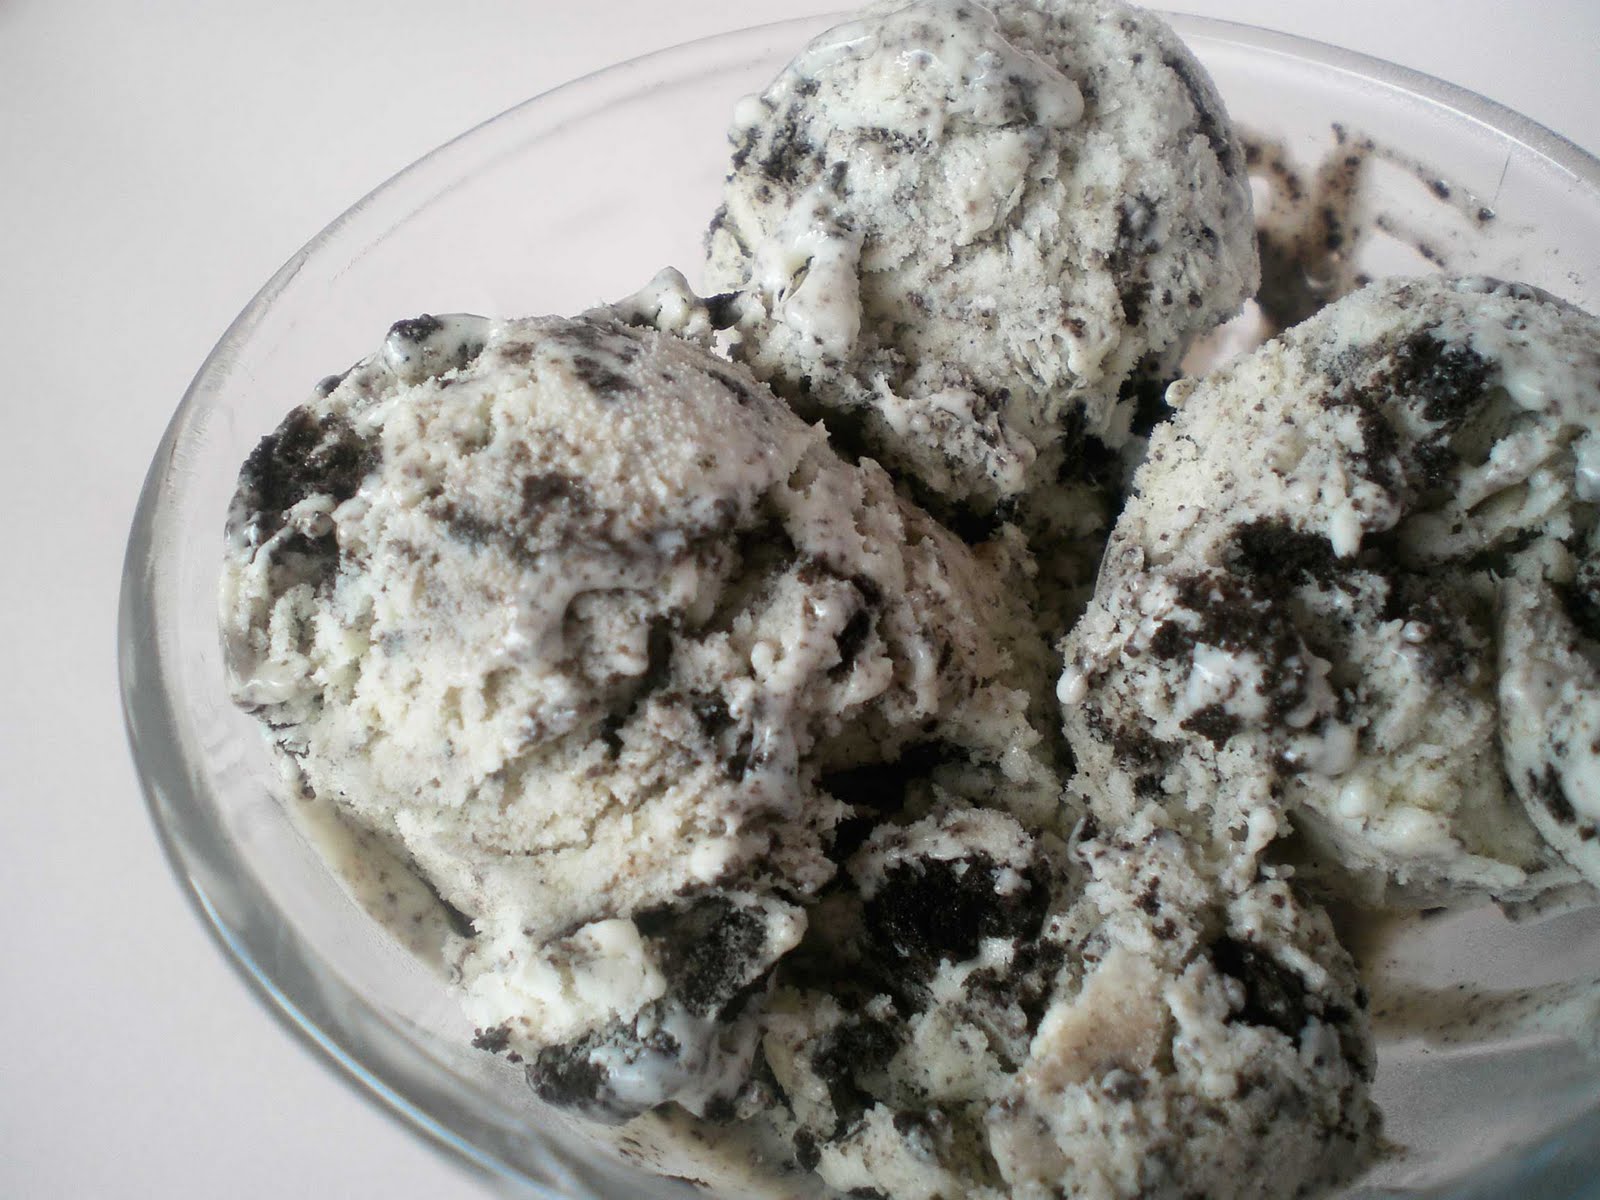
Cookies and Cream Ice Cream
Recipe
Vanilla Ice Cream
- 300ml milk
- 200ml heavy cream (I use non dairy)
- 2 egg yolks
- 20gr cornstarch
- 75gr sugar
- 1 pod vanilla bean
Cookies
- 130 gr (1 pack) of Oreo cookies (coarsely chopped)
Instructions
- Bring the milk, half the sugar, vanilla bean and the pod to a simmer on low heat until bubbles form around the edge of the pan. Remove from heat.
- Meanwhile, beat the egg yolks and remaining sugar with an electric mixer until the yolks begin to turn pale yellow and thickened. Add the cornstarch that diluted with small amount of water.
- Using a whisk, mix one-third of the hot milk into the egg yolks then gently whisk this back into the remaining milk in the saucepan. Scrape until bottom of the bowl so the remaining sugar that hasn't dissolved...
- Heat gently over low heat, stirring constantly with a wooden spoon. Do not allow mixture to boil. It is ready when the custard coats the back of the wooden spoon and you can run a track through it with your finger that won't disappear. Remove from heat and remove the vanilla pod.
- Let it cool in a fridge for 1 hour or use ice bath while stirring occasionally so it won't curdling.
- Beat the cold heavy cream until soft peak formed. Gently whisk in the milk mixture into the whipped cream.
- Process in the ice cream maker or if don't have one, do the freeze-and-beat method.
- Add crushed Oreo on the last beat or when the ice cream mixture is thick enough to hold the chunks and wont sink in the bottom of the container.